Rainy Day StencilGirl® Collaboration and Challenge
Hello everyone! It's been quite awhile! As you know, life gets in the way sometimes of our artsy creations. When Tina Walker sent the word out of a new collaboration a few months back, I was all over it! This one immediately got the juices flowing on all kinds of possibilities.
Using an umbrella (any kind of umbrella), alter it and use StencilGirl® stencils. This was one of those challenges where I had a difficult time getting the ideas from my head "onto paper". Anything that "could" go wrong "did" go wrong. But in the end I LOVE it and it proudly hangs in my family room.
First thing I did was de-construct the umbrella, taking the handle and frame off of the fabric. I gave the fabric a quick coat of clear gesso so that the paint would have something to adhere to. I gathered 5 or 6 springy colors of acrylic paint and some stencils (in the end I used 13 stencils) and began covering the umbrella.
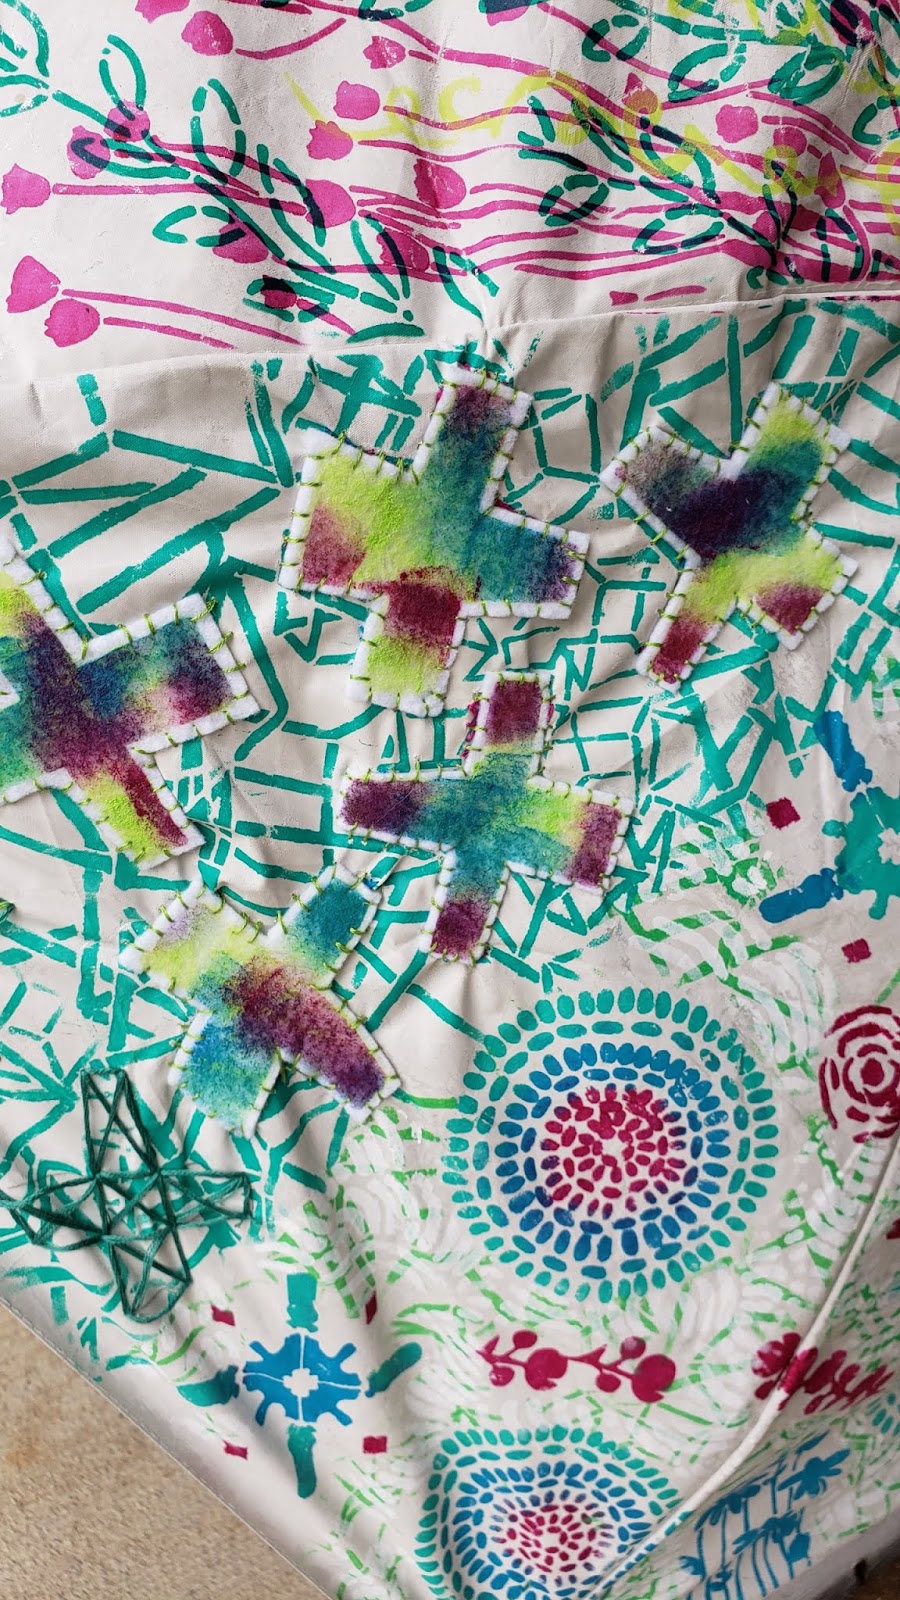
I knew I wanted to cut the fabric in some sort of fashion so I grabbed a circular stencil and in opposite sections of the umbrella, penciled in the circles and cut them out. I gathered similar colored embroidery floss (to that of the paint) and began sewing the floss onto the umbrella.
There were two other opposite sections that I cut out irregular 'X' from a stencil and tried the same technique, but it did NOT work the way I wanted to. So I grabbed a piece of white felt and applied paint through that stencil onto the felt. After it was dry, I cut them out and sewed the shapes over the cutout 'X' shapes on the umbrella. Problem solved!
I added wire to the back to give it that 3D umbrella look and I wired it to a 38" x 38" wooden frame that I created (with the hubby's help). The last thing I did was take part of the original umbrella frame and cut off four of the arms and the handle and glued the handle to the remaining attached two arms. When that was dry, I drilled a hole in the top of the frame for the armature to sit in. Added glue to the hole and placed the armature in the hole. For extra support I wired the armature to the frame.
Can I just say how happy I was that this project was done?!? I hope you enjoy my final project pictures below! I have also listed all of the stencils I used below.


Stencils used:
Thanks for visiting!
Thank you so much for having chosen to include my Nosegay stencil among the gorgeous StencilGirl stencils that you used in creating this unique artwork! I love the way you placed its design in relation to the rest of the umbrella!-- radiating out from the center in the same way as the umbrella's panels. May I have your permission to re-post 1-2 photos of yours in my blog?--giving full credit to you, of course. If you would first like to check out my blog, ot's here -- http://heartworkbycecilia.blogspot.com
ReplyDeleteYou sure can!!!! Thank you so much for the kind comments!
DeleteThis is so cool and pretty! I love that you used the handles and arms to decorate the top of your frame. Such a great use of the different stencils and colors. I like that you incorporated felt and floss for texture and dimension. Love it!
ReplyDeleteThank you so much for your kind words!
Delete